


Are you tired of your yard feeling incomplete or uninviting? A well-built fence can transform your outdoor space, providing privacy, security, and a touch of style. In "Transform Your Yard: The Ultimate Step-by-Step Fence Building Guide," we’ll walk you through the entire process, from planning to execution. Whether you're a DIY novice or a seasoned pro, mastering this skill not only enhances your property but also boosts your confidence. Let’s dive into the world of fence building and unlock the potential of your yard together!
Opening Hook: Why Build a Fence?
Enhancing Privacy and Security
Building a fence is an excellent way to enhance your yard's privacy and security. A well-constructed fence acts as a barrier, keeping unwanted visitors out and providing a safe haven for your family and pets. It creates a defined space where you can enjoy your outdoor activities without the prying eyes of neighbors or passersby. Moreover, a sturdy fence can deter potential intruders, making your home less appealing to burglars.
Adding Aesthetic Value to Your Yard
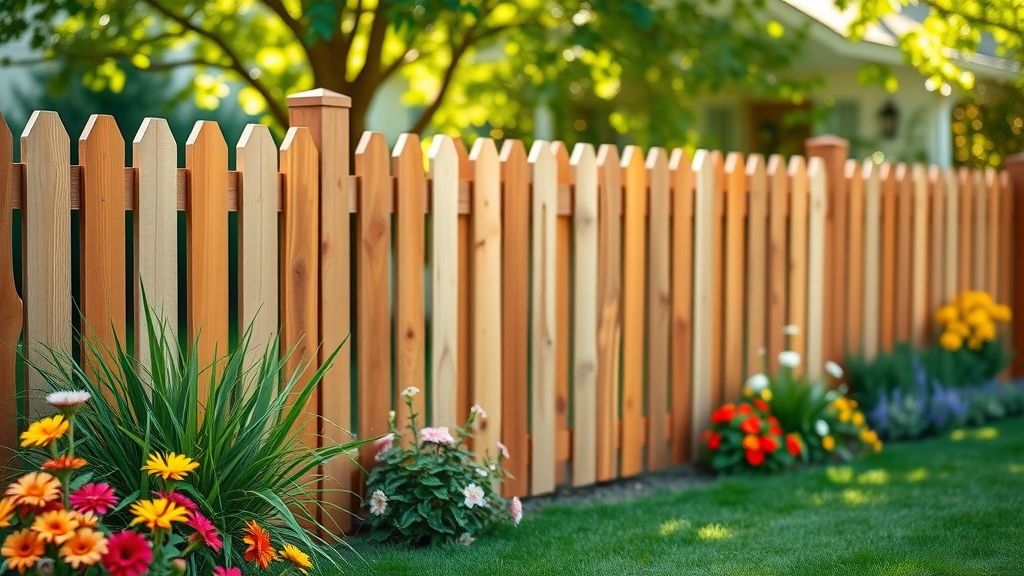
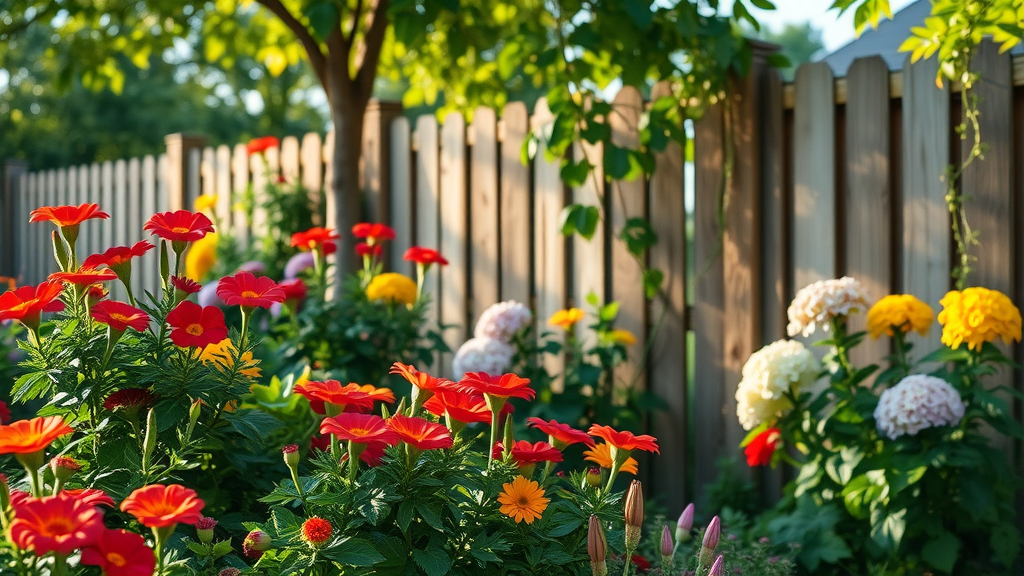
In addition to privacy and security, a fence can significantly enhance the aesthetic appeal of your yard. With various styles and materials available, you can choose a design that complements your home and landscape. Whether you prefer a classic wooden fence, a modern metal design, or a charming picket fence, the right choice can elevate your outdoor space and increase your property value. For more insights on the benefits of wood fencing, check out our article on What are the Benefits of a Wood Fence: 5 Reasons You Should Get One.
What You'll Learn
Understanding the Fence Building Process
This guide will provide you with a comprehensive understanding of the fence building process, from planning and preparation to installation and finishing touches. You'll learn about the essential steps involved in creating a sturdy and attractive fence that meets your needs.
Tools and Materials Needed
Before you start your fence building project, it's crucial to gather the right tools and materials. This guide will outline everything you need, ensuring you are well-prepared for the task ahead.
Step 1: Find Your Property Line
Checking Local Restrictions
Before you begin building your fence, it's essential to check local building codes and regulations. Many areas have specific rules regarding fence height, style, and placement. Contact your local zoning office or visit their website to ensure you comply with all regulations.
Marking Your Boundaries
Once you understand the local restrictions, the next step is to accurately mark your property boundaries. Use stakes and string to outline the area where your fence will be installed. This will help you visualize the layout and ensure you stay within your property lines.
Step 2: Decide on the Height and Style
Choosing the Right Height
The height of your fence will depend on its purpose. For privacy, a taller fence is ideal, while a shorter fence may suffice for decorative purposes. Consider your needs and local regulations when determining the height.
Selecting a Style That Fits
There are various styles of fences to choose from, including picket, privacy, and chain link. Select a style that complements your home and meets your functional needs. Research different designs and visualize how they will look in your yard.
Step 3: Choose Your Materials
Types of Fencing Materials
Fencing materials vary widely, from wood and vinyl to metal and composite. Each material has its pros and cons, so consider factors like durability, maintenance, and cost when making your choice. If you're considering wood, you might want to explore our article on Fence Installation: What You Need to Know Before Hiring an Fencing Contractor for additional insights.
Cost Considerations
Budget is a crucial factor in your fence building project. Research the costs associated with different materials and styles to find an option that fits your budget while still meeting your needs.
Step 4: Stake the Corner Locations
Using the 3-4-5 Method
To ensure your fence is straight, use the 3-4-5 method to stake the corner locations. Measure 3 feet along one side, 4 feet along the other, and adjust until the diagonal measures 5 feet. This technique helps create a right angle for your fence layout.
Marking Corner Posts
Once you have established the corners, mark the locations for your corner posts. Use a stake or spray paint to indicate where each post will be placed.
Step 5: Stake the Middle Posts
Spacing Your Posts
Proper spacing between posts is essential for a sturdy fence. Generally, posts should be spaced 6 to 8 feet apart, depending on the type of fence you are building. Measure and mark the locations for your middle posts accordingly.
Ensuring Stability
To ensure stability, consider the type of fence you are building. For heavier materials, closer spacing may be necessary to support the weight. Always follow manufacturer recommendations for post spacing.
Step 6: Dig the Holes
Choosing the Right Tools
To dig the post holes, you will need a post-hole digger or auger. These tools make it easier to create deep, narrow holes for your fence posts.
Depth and Width Considerations
As a rule of thumb, post holes should be at least one-third the height of the fence above ground. For example, if your fence is 6 feet tall, the holes should be at least 2 feet deep. The width should be about three times the diameter of the post.

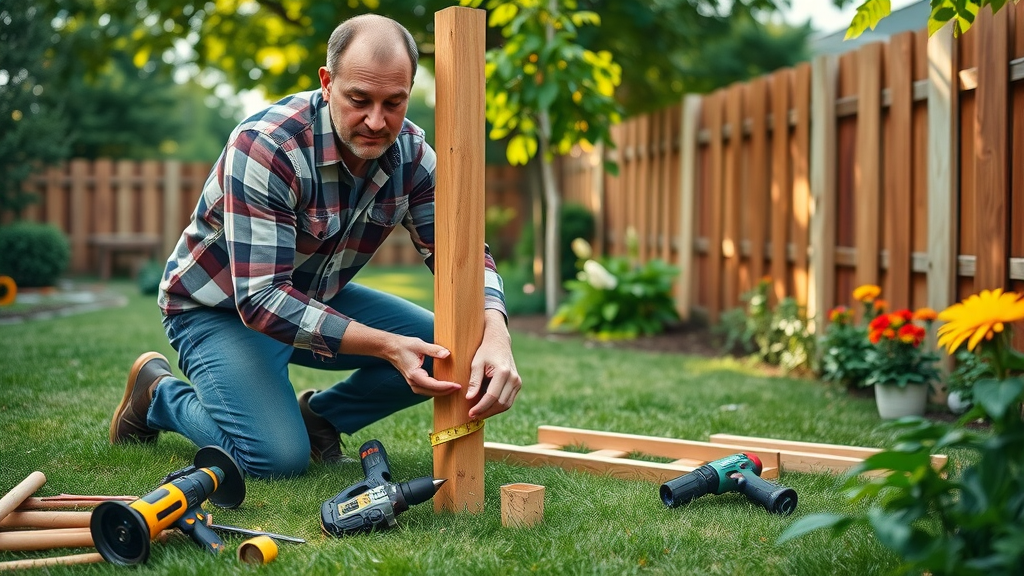
Step 7: Place Your Posts
Setting Posts in Concrete
Once the holes are dug, it's time to set your posts. Place each post in its hole and fill it with concrete. Ensure the post is straight and level before the concrete sets.
Ensuring Vertical Alignment
Use a level to check that each post is vertical. Adjust as necessary before the concrete hardens to ensure a straight and sturdy fence.
Step 8: Pour the Concrete Footing
Mixing Concrete Properly
Follow the manufacturer's instructions for mixing concrete. A good mix will ensure a strong footing for your fence posts.
Filling the Holes
Carefully pour the mixed concrete into the holes around each post. Use a trowel to smooth the surface and remove any air bubbles.
Step 9: Fill with Dirt
Packing the Soil
After the concrete has set, fill the remaining space in the hole with dirt. Pack the soil tightly to provide additional support for the posts.
Checking for Stability
Once filled, check the stability of each post. Ensure they are secure and won't shift over time.
Step 10: Add a Builder's or Mason's Line
Aligning Your Fence
To ensure your fence is straight, run a builder's line between the corner posts. This will serve as a guide for placing the remaining posts and panels.
Ensuring Straightness
As you install the fence panels, refer to the line to maintain a straight alignment. This will help create a professional-looking finish.
Step 11: Add on Your Support Boards
Choosing the Right Support
Support boards are essential for maintaining the structure of your fence. Choose boards that are sturdy and appropriate for the type of fence you are building.
Securing the Boards
Use deck screws or nails to secure the support boards to the posts. Ensure they are level and properly aligned.
Step 12: Add Your Privacy Boards
Installing the Boards
Once the support boards are in place, it's time to install the privacy boards. Attach them securely, ensuring they are evenly spaced and aligned.
Finishing Touches
After all boards are installed, check for any gaps or unevenness. Make adjustments as necessary to achieve a polished look.
Step 13: Treat the Boards
Choosing the Right Treatment
To protect your fence from the elements, consider applying a wood preservative or stain. This will help extend the life of your fence and maintain its appearance.
Applying the Treatment
Follow the manufacturer's instructions for applying the treatment. Ensure the boards are clean and dry before application for the best results.
Key Takeaways
- Building a fence enhances privacy and security while adding aesthetic value to your yard.
- Understanding local regulations is crucial before starting your project.
- Choosing the right materials and tools can make the process smoother and more efficient.
- Proper planning and execution are key to a successful fence installation.
FAQs
How do you build a fence step by step?
Building a fence involves several steps: planning, marking property lines, choosing materials, digging holes, setting posts, and installing panels. Following a structured guide can simplify the process.
What is the hardest part of building a fence?
The hardest part often involves digging the post holes, especially if the ground is rocky or hard. Ensuring proper alignment and stability can also be challenging.
What is the step method of fencing?
The step method involves measuring and marking the fence layout in a systematic way, ensuring accuracy and straightness throughout the installation process.
Should fence posts be 6 or 8 feet apart?
Typically, fence posts should be spaced 6 to 8 feet apart, depending on the type of fence and local regulations. Always check the manufacturer's recommendations for specific guidelines.
Conclusion
Building a fence can be a rewarding DIY project that enhances your yard's privacy, security, and aesthetic appeal. By following this step-by-step fence building guide, you can create a beautiful and functional addition to your outdoor space. Remember to plan carefully, choose the right materials, and take your time during installation for the best results.
Call to Action
Ready to transform your yard? Gather your tools and materials, and start your fence building project today! For more tips and resources, check out our comprehensive video guide on building a fence step by step.
Comparison Table of Different Fencing Materials
| Material | Cost per Linear Foot | Durability | Maintenance |
|---|---|---|---|
| Wood | $10 - $30 | Moderate | Requires regular staining/painting |
| Vinyl | $20 - $40 | High | Low maintenance |
| Chain Link | $10 - $20 | High | Low maintenance |
| Metal | $15 - $35 | Very high | Low maintenance |
"Building a fence is not just about boundaries; it's about creating a space that reflects your style and needs."
Checklist of Tools and Materials Needed for Building a Fence
- Post-hole digger
- Concrete mix
- Level
- Tape measure
- Power drill
- Wood preservative or stain
- Fence panels
- Support boards
- Deck screws or nails
Write A Comment